 0 ITEMS IN CART
WHOLE CANNED TOMATOES
07/06/16 — Farm
 by Megan Winfrey
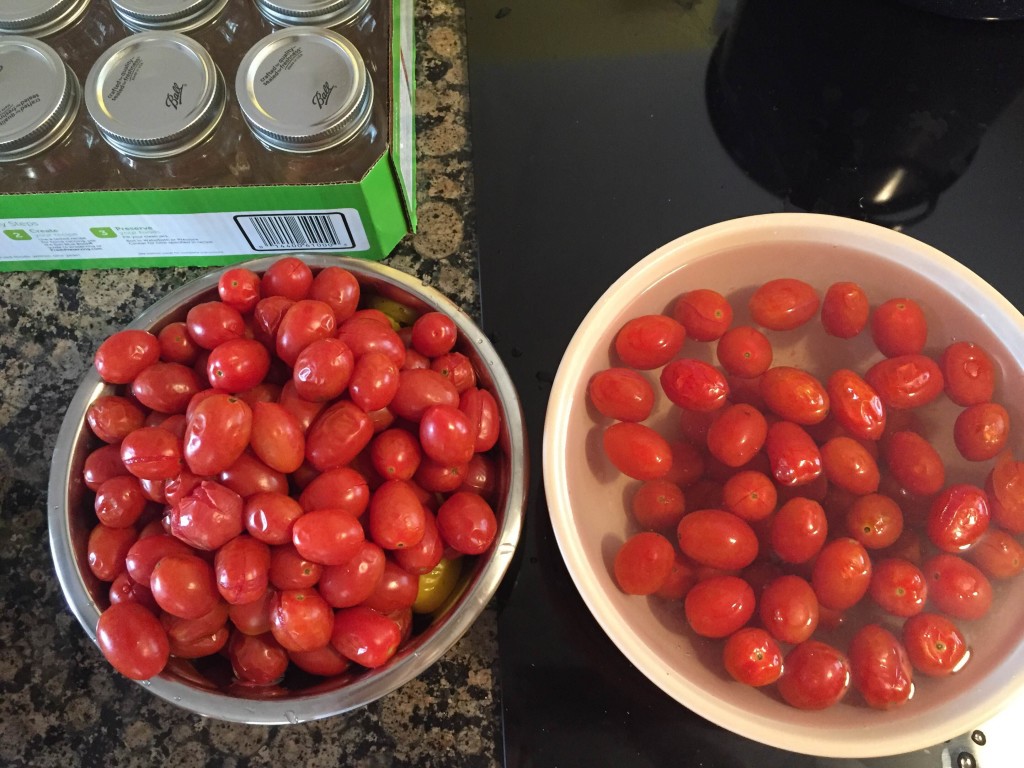
This was my first year participating in the JBG bulk tomato sale, and after eating about half of the cherry tomatoes in the car, I decided I'd use the rest for something really simple. Canned tomatoes - plain and simple. No vinegar, no herbs, no salt, just tomatoes, lemon juice, and a bit of water. These simple preserved tomatoes will keep for about a year in the pantry and can my used for anything. Anything at all. I can't wait until winter, when I open one of these jars to the fresh smell of summer tomatoes, ready to crush and become bolognese.
Whole Canned Tomatoes
- 2 lbs. fresh tomatoes
- 6-8 pint jars with lids and rings
- 6-8 tbs. lemon juice
- Filtered water
- Canning tongs
- Canning rack (or dish towel)
- Large soup or canning pot
Start by sterilizing the jars, lids, and rings. I like to run the jars through a hot dishwasher while I simmer the lids and rings for about 10 minutes. That way, the jars are still warm when it is time to fill them. You want to fill warm, sterile jars to prevent bacteria from being present in the finished product.
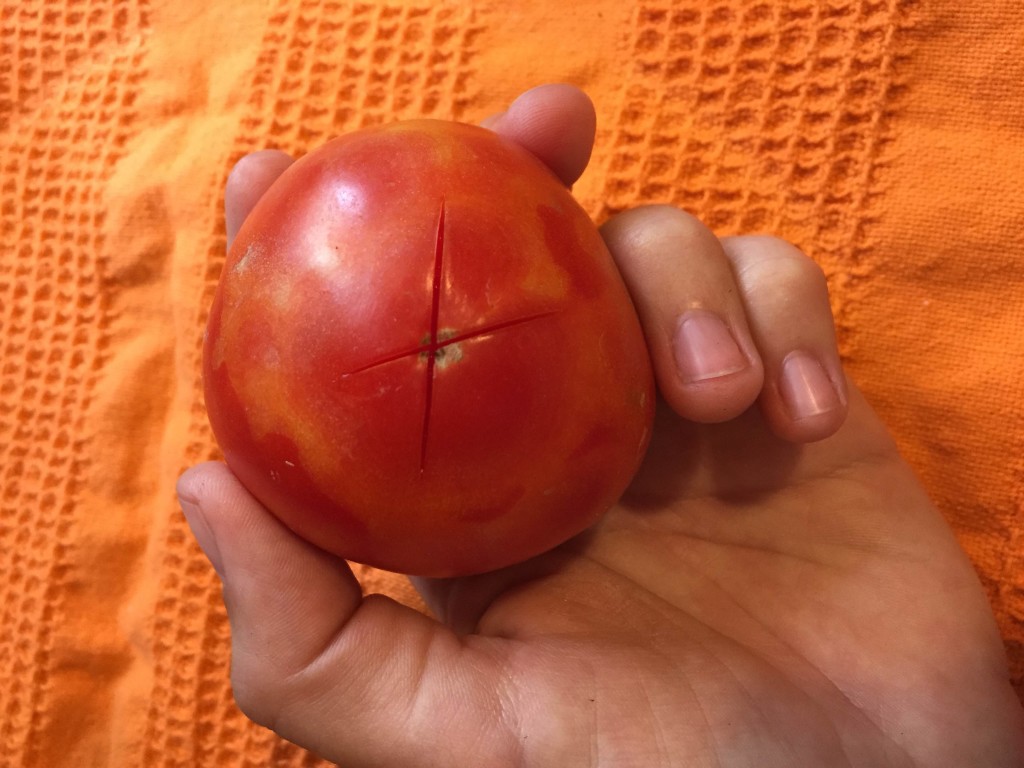
During or after that process, start preparing the tomatoes by scoring the bottom of each with an "X". This will allow the skin to start peeling away as they cook.
Once each tomato is scoured, start dropping them into a pot of boiling water in batches. Don't over fill the pot or it will take longer to come back up to a boil. The tomatoes need just 1-2 minutes in the boiling water. Check them frequently and when you see the skin puckering, they're ready to come out.
Using a slotted spoon, remove the tomatoes from the boiling water and into an ice water bath to stop the cooking process and cool them off for handling.
When all the tomatoes have been cooked, start peeling. I like to fill the jars as I peel, filling each jar to the very top.
Next, use the end of a wooden spoon to press the tomatoes down into the jars, releasing the juices. Add 1 tbs. of lemon juice to each pint, (2 tbs. each for quarts) then give each jar a good stir to loosen up any air bubbles and to distribute the lemon juice. Add filtered water if necessary to fill the jars within 1/2" of the top.
Next, wipe the jar rims off with a clean dish cloth. They won't seal well if there is any moisture on the rim.
Screw the lids and rings on, not too tightly, but just until they won't turn anymore.
Now, it's time to process the jars so that they become air tight.
Put a canning rack or a dish towel in the bottom of a large pot, fill generously with water, and bring to a rapid boil. Using canning tongs, gently lower each jar into the boiling water. Try to keep the jars from touching if you can. Set your timer for 85 minutes and check periodically that the water is at a good, rolling boil the whole time.
Once the jars are processed, lift them gently out of the water with your canning tongs and place them on the counter to cool. You may hear some hissing and popping, which means the lids are sealing.
Once cooled to room temperature, check that the center of each lid is sucked in tightly and not popped up or loose. If any jars did not seal properly, don't attempt to reseal. Put them in the fridge and use within the week. Properly sealed jars will be good in the pantry for at least one year.